
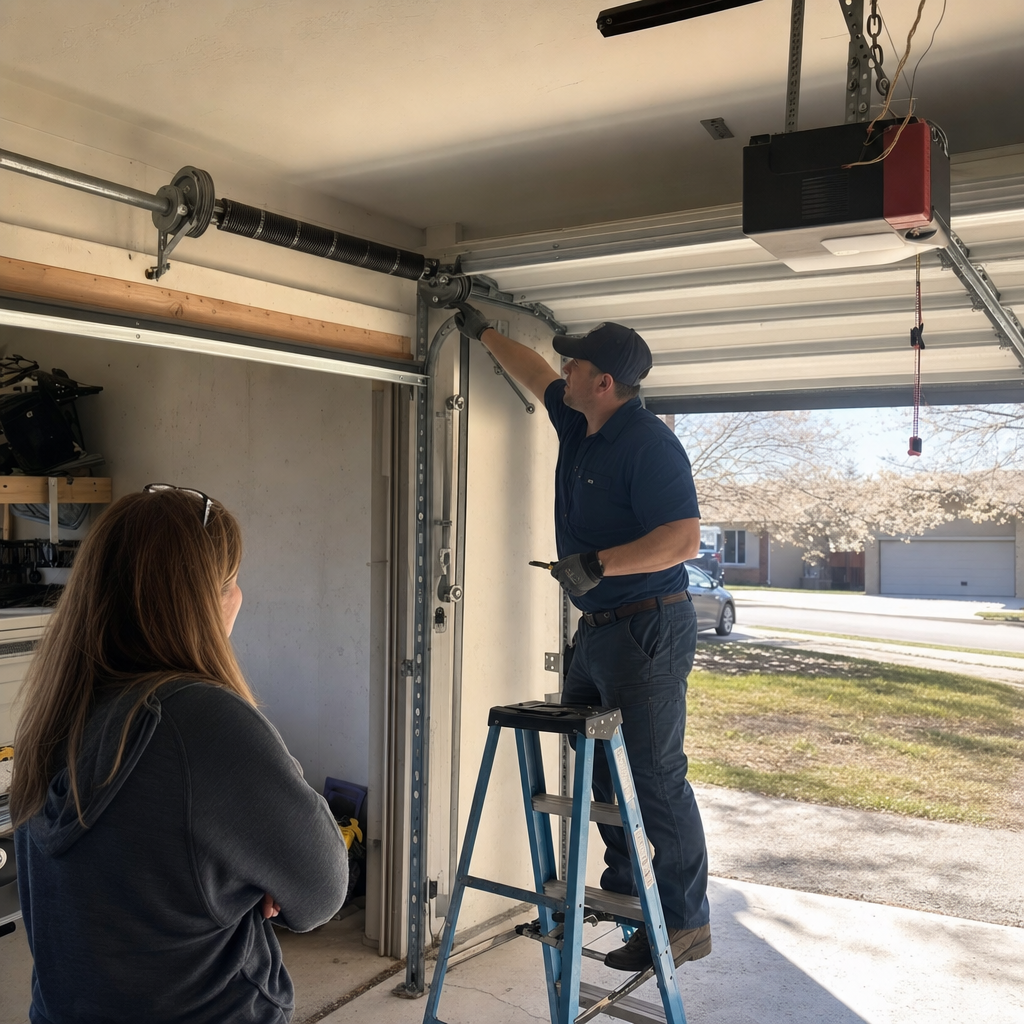
How to Program a Garage Door Opener in Kansas, KS — Start With the Frequency, Not the Button Sequence
Programming a garage door opener fails most often because homeowners follow instructions written for a different radio frequency generation than the unit on their ceiling. The correct sequence depends entirely on whether your opener uses 315 MHz fixed-code (pre-1993), 315 MHz rolling-code (1993–2011), or 390 MHz rolling-code with MyQ (post-2011) — and the only way to know is checking the manufacture date and learn button color before pressing anything. If you’ve held the button, watched the light blink, and still got nothing, that’s almost certainly the mismatch we’re talking about. For opener repair or replacement in Kansas, call Monarch Garage Door Service Kansas at (866) 428-5950 — Aaron Bennett handles the diagnostics personally.

Why Most Programming Guides Fail Kansas Homeowners
You’ve held the button. The light blinked. Nothing happened. The reason is almost certainly that the guide you’re following was written for a different generation of opener than the one on your ceiling.
Here’s what we see across Kansas, from the older ranch homes in Argentine to the newer builds in Piper: a homeowner buys a universal remote, finds a YouTube tutorial, and follows the steps exactly — but the remote was designed for 390 MHz rolling-code openers, and their ceiling unit is a 315 MHz fixed-code model from 1987. Or they’ve got a 2015 LiftMaster with a yellow learn button, and they’re following instructions for a purple-button unit. The steps aren’t wrong. They’re just wrong for that specific machine.
The Kansas housing stock compounds this. We’ve got post-war bungalows in Rosedale with original openers still running, 1990s split-levels in Turner with mid-generation Chamberlains, and new construction in Village West with HomeLink-integrated vehicles. Each scenario demands a different approach. Aaron Bennett grew up in the Armourdale neighborhood and has spent 14 years sorting out exactly these mismatches — it’s why we lead with identification before any button-pressing.
Step 1: Identify Your Opener’s Generation Before You Program
Every successful programming starts with three pieces of information: manufacture date, frequency, and learn button color. Skip this, and you’re guessing.
Where to find the manufacture date: Check the sticker on the back or side of the motor housing — not the door itself. The date code is usually a month/year stamp. If the sticker’s worn off (common in Kansas garages with temperature swings that degrade adhesive), check the model number against the manufacturer’s website.
The three generations break down like this:
- Pre-1993 fixed-code units (DIP switch): No learn button. Instead, you’ll find a row of 8–12 small switches inside the remote and a matching set inside the opener housing. Programming means matching the switch pattern exactly — up/down or +/- — on both devices. These units broadcast at 300–400 MHz on a fixed code, meaning any remote with the same switch pattern opens your door. Security is essentially zero by modern standards.
- 1993–2011 rolling-code units: These introduced the “learn button” — a colored square or circular button on the motor housing, usually near the antenna wire. Each press generates a new encrypted code, preventing replay attacks. The color tells you the frequency: purple button = 390 MHz; yellow or orange = 315 MHz (though orange typically indicates MyQ compatibility).
- Post-2011 MyQ/HomeLink units: Yellow learn button with WiFi/Bluetooth pairing capability. These use 310/315/390 MHz dual-band communication and often require smartphone app setup before remote programming works.
Quick-reference: LiftMaster/Chamberlain learn button colors
| Button Color | Frequency/Generation | Typical Years |
|---|---|---|
| Green | 390 MHz rolling code | 1993–1997 |
| Red/Orange | 390 MHz rolling code | 1997–2005 |
| Purple | 390 MHz Security+ | 2005–2011 |
| Yellow | 315 MHz Security+ 2.0 / MyQ | 2011–present |
Genie, Raynor, and Wayne Dalton use different color schemes or button shapes, but the same principle applies: the hardware generation determines the programming sequence. For Garage Door Opener service across all eight brands we support — LiftMaster, Chamberlain, Genie, Clopay, Amarr, Wayne Dalton, Craftsman, and Raynor — we carry the reference charts in our trucks because even technicians need to verify before starting.
Step 2: Programming by Generation — What Actually Works
DIP Switch Openers (Pre-1993)
These are straightforward but unforgiving. Open the remote case and the opener’s light cover or side panel. You’ll see identical switch banks. Match every switch position exactly — if remote switch 3 is up, opener switch 3 must be up. Test immediately. If the door doesn’t respond, check that you didn’t flip a switch halfway; these mechanical contacts fail after decades of Kansas humidity cycles.
Safety note: These openers lack automatic reverse sensors (mandatory since 1993). If your pre-1993 unit fails, we strongly recommend replacement rather than continued repair — the safety risk outweighs any cost savings.
Rolling-Code Openers with Learn Button (1993–2011)
This is where most Kansas homeowners get stuck. The sequence matters, but so does timing.
- Locate the learn button on the motor housing. Press and release it — do not hold. The LED beside it will glow steady for 30 seconds.
- Within 30 seconds, press and hold the button on your remote that you want to program.
- The opener LED will flash or the light bulbs will click once, confirming the code is stored.
- Test the remote. If it works, repeat for additional remotes before the 30-second window expires.
Common failure point: Holding the learn button too long erases all stored remotes. If your existing remotes suddenly stop working after “programming” a new one, that’s what happened. You’ll need to reprogram every remote from scratch.
MyQ/HomeLink-Integrated Systems (Post-2011)
These add a layer of network pairing before remote programming. For LiftMaster/Chamberlain yellow-button units:
- Download the MyQ app and create an account.
- Press the yellow learn button three times to enter WiFi setup mode (rapid blinking).
- Follow app instructions to connect the opener to your home network.
- Only after network pairing succeeds can you program remotes or HomeLink vehicle buttons using the standard learn-button sequence.
Without the app setup, the opener may reject HomeLink signals even when the vehicle appears to “learn” successfully. This is the single most common programming failure Aaron hears about from Kansas drivers — the car says it’s paired, but the door won’t move because the opener never entered pairing mode at the network level.
Step 3: The HomeLink Vehicle Integration Most Guides Get Wrong
HomeLink — the built-in garage door buttons in your car’s visor or mirror — fails more often than handheld remotes because of a critical memory-clearing step that most car-specific guides omit entirely.
Before programming any new opener into HomeLink, you must clear the system’s previous codes. This isn’t optional — residual memory from a previous vehicle owner, a dealer demo, or an old opener will conflict with new pairing.
The correct clearing procedure:
- Press and hold both outer HomeLink buttons simultaneously. Ignore the center button if you have three.
- Hold for 20 seconds. The indicator light will change from slow blink to rapid blink — this means memory is cleared.
- Release, then immediately proceed to programming your opener within 30 seconds.
Without this step, you’ll get the “it worked in the driveway but not when I got home” scenario — the partial pairing that seems successful but won’t operate the door. We’ve had Kansas customers in Merriam and Bonner Springs drive to our shop convinced their opener was broken; 30 seconds of proper HomeLink clearing fixed it.
For 2018 and newer vehicles with HomeLink-compatible mirror systems, there’s an additional step: some manufacturers require ignition in “accessory” position, not full run, during programming. Check your vehicle manual — or call us, and Aaron will walk you through it while you’re in the driveway.
The Craftsman Compatibility Problem Kansas Homeowners Face
Many Kansas garages have older Craftsman openers — the brand was dominant in big-box retail for decades — and owners buy new universal remotes that appear compatible but refuse to pair. Here’s why.
Craftsman units manufactured before 2011 were built for Sears by Chamberlain and LiftMaster, but with a proprietary frequency offset that doesn’t accept standard universal remotes. The packaging says “works with Craftsman,” but that typically means post-2011 models using standard Security+ frequencies.
If you’ve got a pre-2011 Craftsman and a new remote won’t program, your options are:
- Purchase a Sears-specific replacement remote (still available for common models)
- Install an external receiver module ($60–$120 part) that translates between frequencies
- Replace the opener with a modern unit — which we recommend if the existing unit is over 15 years old
Aaron’s seen this exact scenario in dozens of Kansas homes, particularly in older neighborhoods like Fairfax and Hanover Heights where Craftsman openers from the 1990s and 2000s remain common. “Your brand, our expertise” — we carry the receiver modules and can diagnose whether it’s a frequency mismatch or actual opener failure before you spend money on the wrong fix.
When Programming Fails: Is It the Remote or the Opener?
If you’ve identified your generation, followed the correct sequence, cleared HomeLink memory, and the remote still won’t pair — the problem is likely the opener’s receiver, not your technique.
The learn button connects to a small receiver board inside the motor housing. Lightning strikes (common in Kansas spring storms), power surges, and plain age can degrade this component. Symptoms include:
- Learn button LED doesn’t illuminate when pressed
- LED illuminates but doesn’t flash to confirm code storage
- Remote programs successfully but works intermittently or only at very close range
- Multiple remotes all fail simultaneously — pointing to receiver, not remote, failure
Receiver board replacement runs $60–$120 for the part, plus diagnostic labor. At that point, weigh against opener age: if your unit is past 12–15 years, a new opener installation ($225–$495 in the Kansas market) gets you modern safety features, quieter operation, and smartphone control — often worth the incremental cost over repairing obsolete hardware.
We’re straightforward about this: programming a remote is genuinely a DIY task, and Aaron will tell you that straight. But if you’ve cleared memory, followed the correct generation sequence, and the remote still won’t pair — the learn button receiver on the logic board may be failing. That’s when it makes sense to have a technician diagnose before you buy parts you might not need.
Local Scenarios We See Across Kansas Neighborhoods
Programming problems aren’t uniform across Kansas — they track with housing age and construction type.
Argentine, Rosedale, and older Fairfax homes: Original 1970s–1980s openers still running on DIP switches. Homeowners inherit these with the house and have no manual. We keep photocopied DIP switch charts for common models because manufacturers stopped supporting them years ago.
Turner and Piper split-levels from the 1990s–2000s: Rolling-code openers in the 315 MHz generation, often Craftsman or early Chamberlain. The remotes fail after 15–20 years of button-press cycles, and universal replacements are where the frequency mismatch bites.
Village West and new construction near Legends Outlets: MyQ-integrated systems with HomeLink-compatible vehicles. The app setup confuses homeowners who expect simple button-pairing, and WiFi dead zones in attached garages cause pairing failures that look like opener problems.
Merriam and Overland Park border areas: Mixed housing stock means we often find multiple opener generations in the same neighborhood, sometimes on the same block. What worked for your neighbor’s 2019 Chamberlain won’t work on your 2005 Raynor — and vice versa.
Kansas temperature swings matter too. Summer garage temperatures hit 110°F+; winter drops below freezing. Circuit board solder joints crack from thermal cycling, and that’s when “it worked yesterday” becomes “it won’t program today” with no apparent cause.
Key Takeaways: Programming Your Garage Door Opener in Kansas
- Identify manufacture date and learn button color before attempting any programming sequence
- Clear HomeLink vehicle memory (hold both outer buttons 20 seconds) before pairing any new opener
- Pre-2011 Craftsman openers often require brand-specific remotes or receiver modules, not universal replacements
- If correct sequence fails repeatedly, suspect receiver board failure — not user error
- Post-2011 MyQ systems require app-based network setup before remote or HomeLink programming will succeed
FAQs
Garage door opener repair in Kansas typically runs $110–$290, depending on whether the issue is a failed remote, receiver board, or motor assembly. If the opener is over 12 years old, we often recommend comparing repair cost against new opener installation at $225–$495. Call (866) 428-5950 for a free estimate — Aaron Bennett handles the assessment personally.
Pre-2011 Craftsman openers use a Sears-specific frequency that most universal remotes cannot replicate without an external receiver module. Check your Craftsman manufacture date — if it’s before 2011, you’ll need either a Sears-branded replacement remote or a frequency translator installed. We’ve diagnosed this exact mismatch in Kansas homes from Argentine to Piper; it’s a five-minute check that saves you from returning the wrong remote.
Yes — Monarch Garage Door Service Kansas offers same-day emergency service when your opener fails at the worst possible moment. Aaron Bennett carries common receiver boards, remotes, and full opener units for all eight brands we support: LiftMaster, Chamberlain, Genie, Clopay, Amarr, Wayne Dalton, Craftsman, and Raynor. Call (866) 428-5950 — when it won’t open, we will.
Repair is cheaper short-term if the issue is isolated — a $60–$120 receiver board or $110–$290 service call. Replacement makes more sense if your opener is 12+ years old, lacks safety sensors, or has required multiple repairs. New opener installation at $225–$495 gets you modern rolling-code security, battery backup, and smartphone control. We’ll give you straight numbers for both options and let you decide — no upsell pressure. “If I wouldn’t put it on my own door, I’m not putting it on yours.”
If you’d rather have it looked at, Monarch Garage Door Service Kansas offers a no-pressure assessment anywhere in Kansas — call (866) 428-5950 and Aaron Bennett will walk you through what’s actually wrong before any work starts.
Written by Aaron Bennett, Owner & Lead Technician at Monarch Garage Door Service Kansas, serving Kansas, KS.